Are You Looking for a Better Way to Process Fingerprints with Your Forensics Students?
I love superglue fuming fingerprints with my Forensics students but it can be so difficult and messy! This year, I was determined to find a better way. Good news! I’m never going back to the little aquarium we were using. Keep reading to find out what we did!
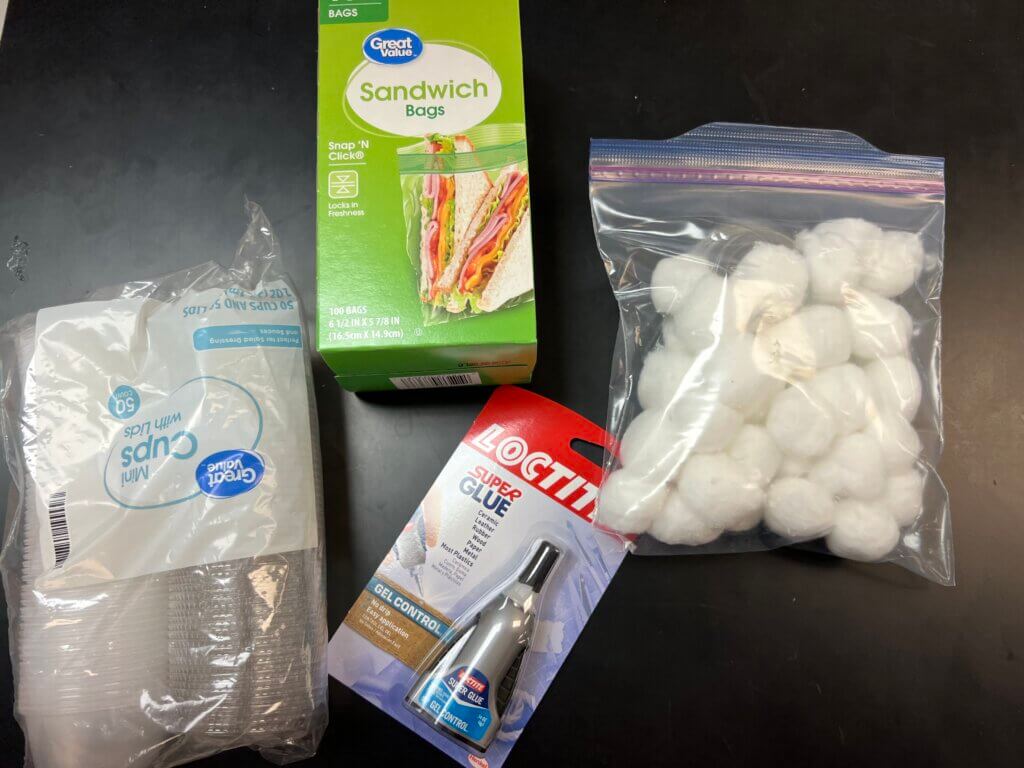
All you need are a few simple supplies from the local discount store:
- 2oz. plastic cups with lids
- cyanoacrylate (superglue)
- cotton balls
- sandwich bags OR mug warmer (<-works best)
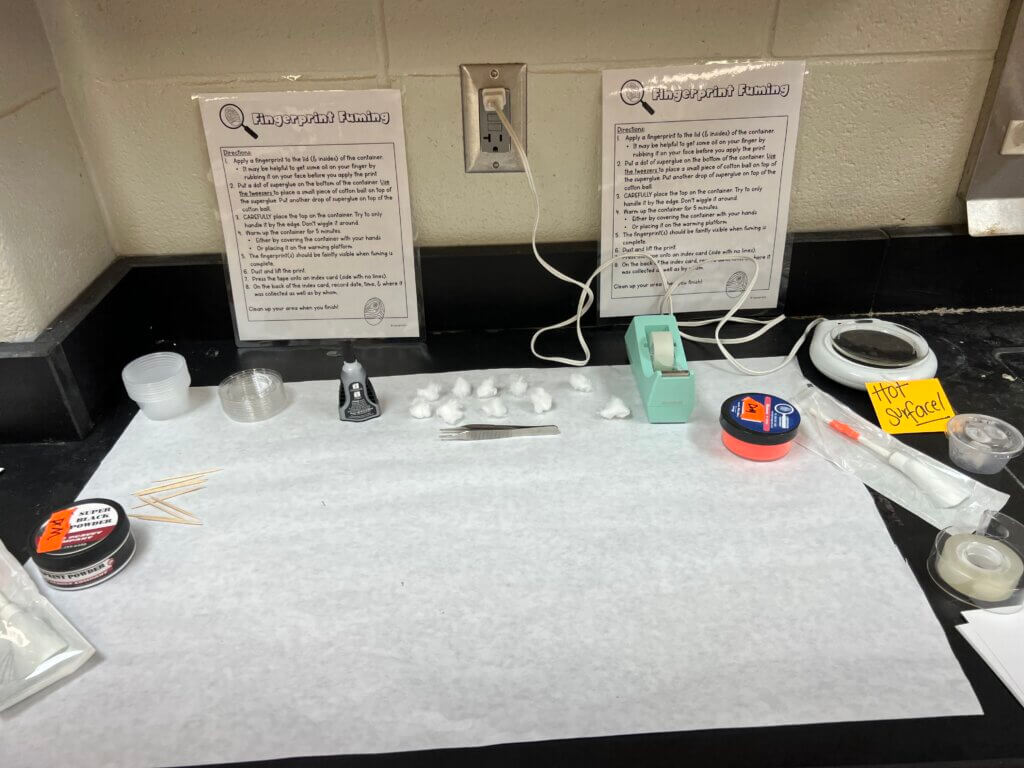
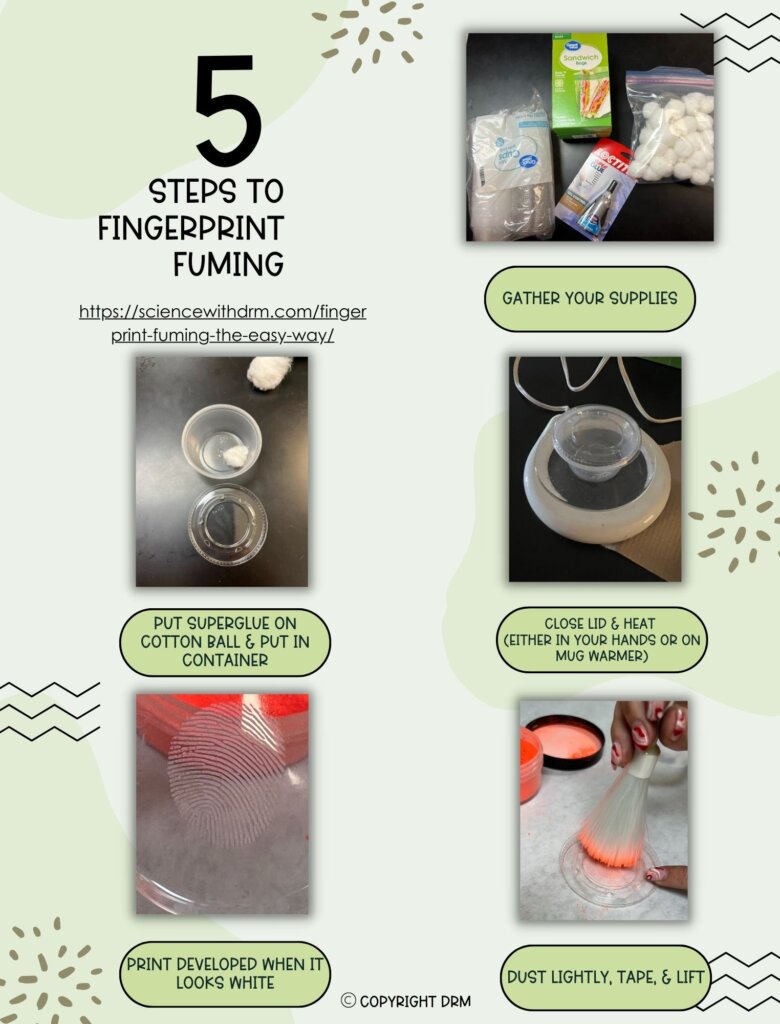
Put fingerprints on the inside of the plastic cup (lid works best) & add a drop of superglue on a piece of cotton ball. (Side note: Use tweezers or you’ll accidentally superglue cotton ball to your fingers.. on both hands *ask me how I know* 🤦♀️ At least my students got a good laugh 🤪)

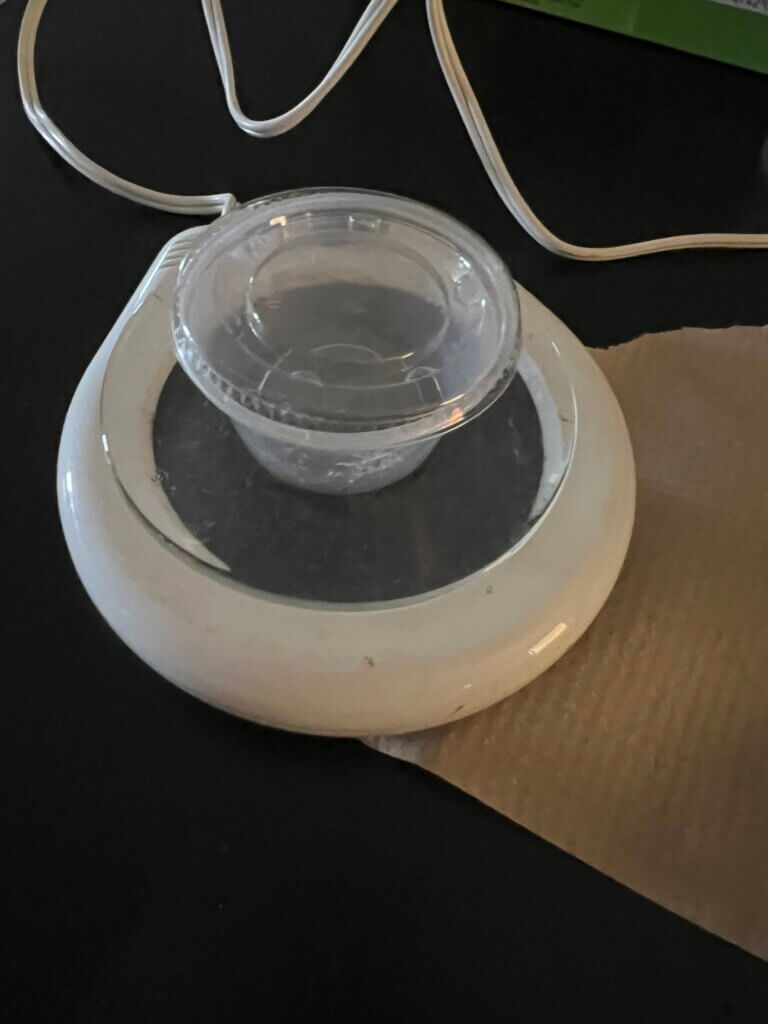
Warm up the container. We tried 2 methods- 1st we used a plastic bag and students warmed it in their hands for 5 minutes. That worked ok and we were able to develop a print. Then, we tried putting the plastic cup on a mug warmer I had in my classroom (with a glass saucer on it to make sure it didn’t melt). It worked like a charm and was developed in about 2 minutes!
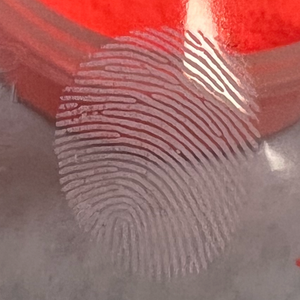
Print will be ready when it looks white. The print will be more stable after developing because the fumes from the superglue will adhere to the oils that create the ridge patterns.
You will still need to dust and lift the print. I always have my students photograph the print first before dusting as well.
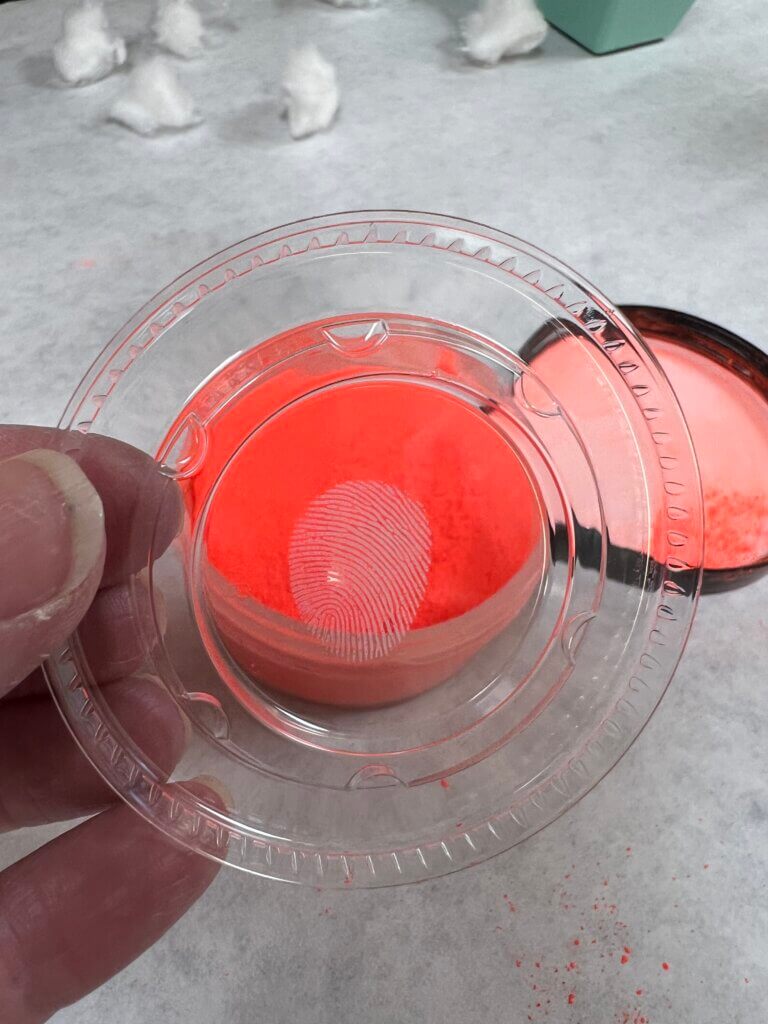
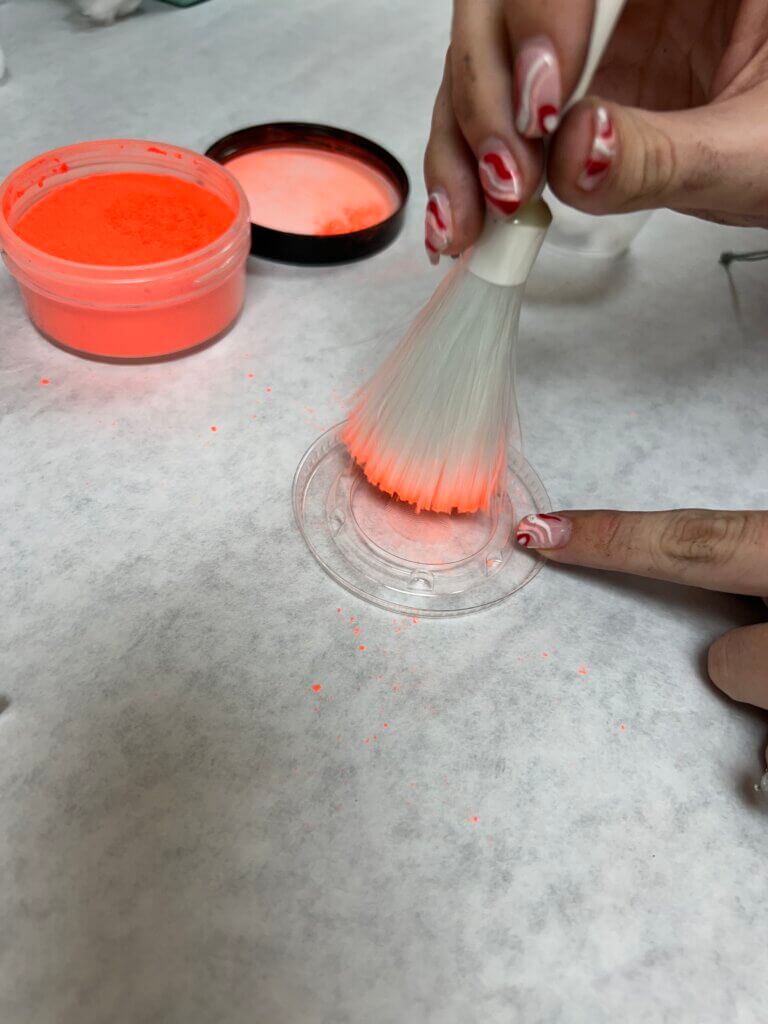
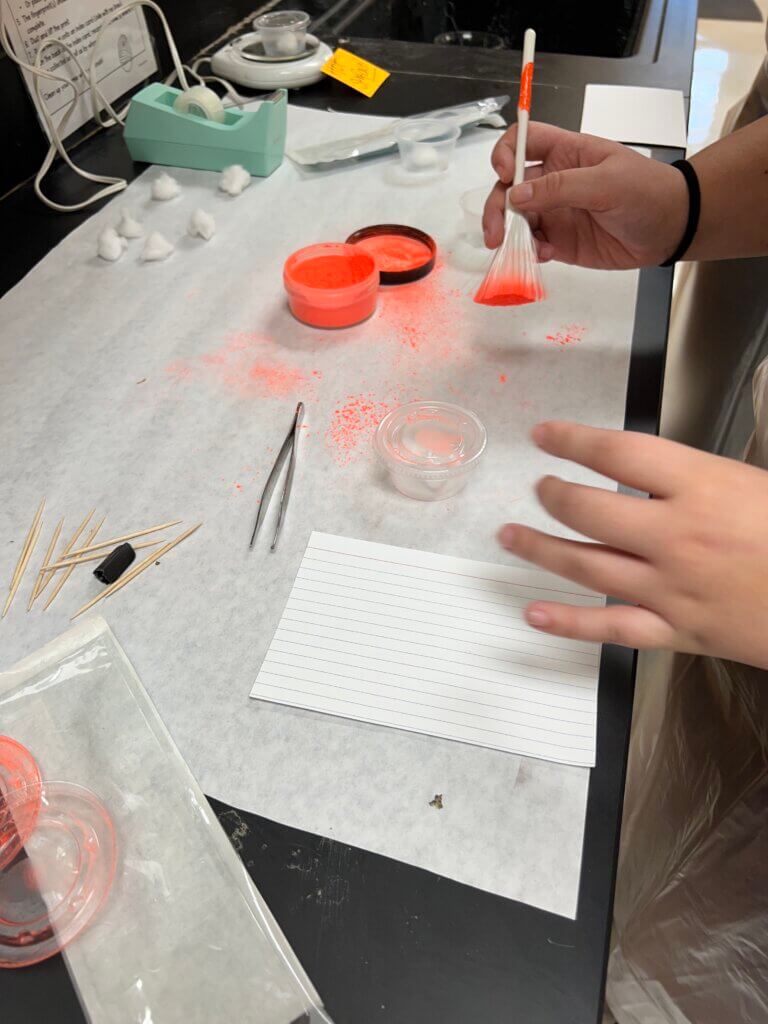
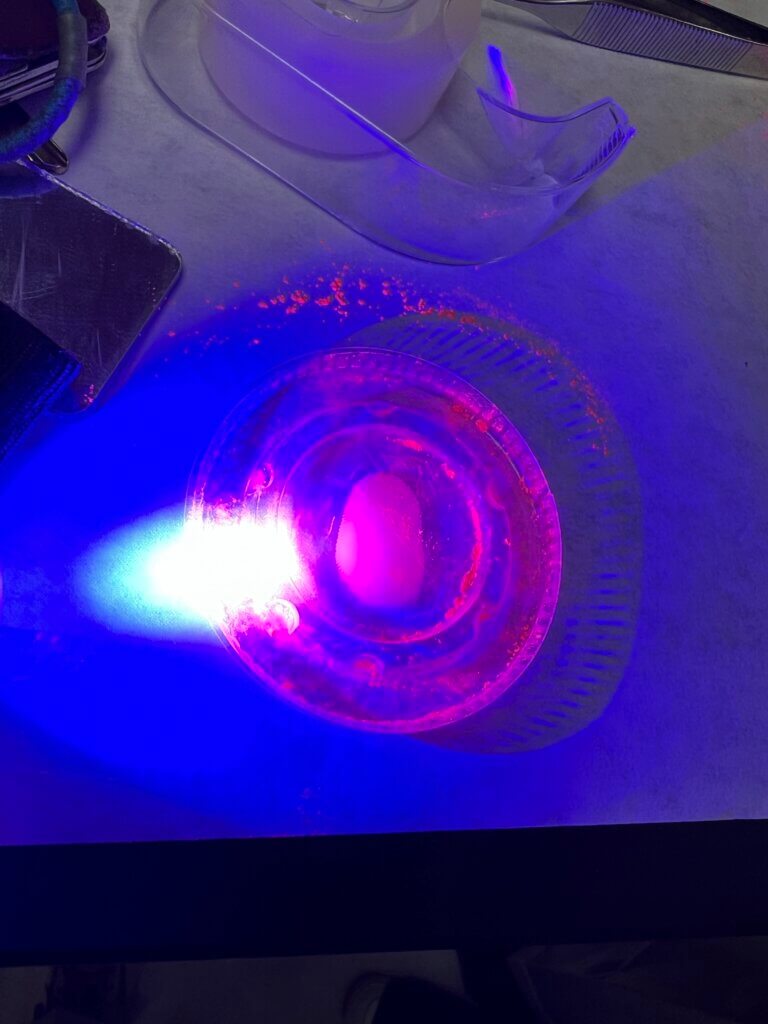
Even though magnetic powder is by FAR the easiest (& neatest) method of dusting for prints, we love using the neon orange powder.
The fluorescent powder is so awesome looking that we also looked at our prints under an alternative light source (ALS).
